A home renovation in Ireland follows a fixed sequence regardless of how many rooms are involved: structural and building control work first, first fix trades before walls are closed, wet rooms before dry rooms, and finishing last. Getting this order wrong is the single most common cause of rework, delays, and budget overruns on Irish renovation projects. This guide covers every room and every stage, with Irish-specific requirements, building regulations, and grant considerations built in throughout.
The Correct Order of Works for an Irish Home Renovation
Getting the sequence right is the difference between a smooth project and one where trades are waiting on each other, work is being redone, and the budget is leaking at every stage. This is the sequence that works.
Standard sequence for a home renovation or extension in Ireland. Works carried out in a different order almost always result in rework.
-
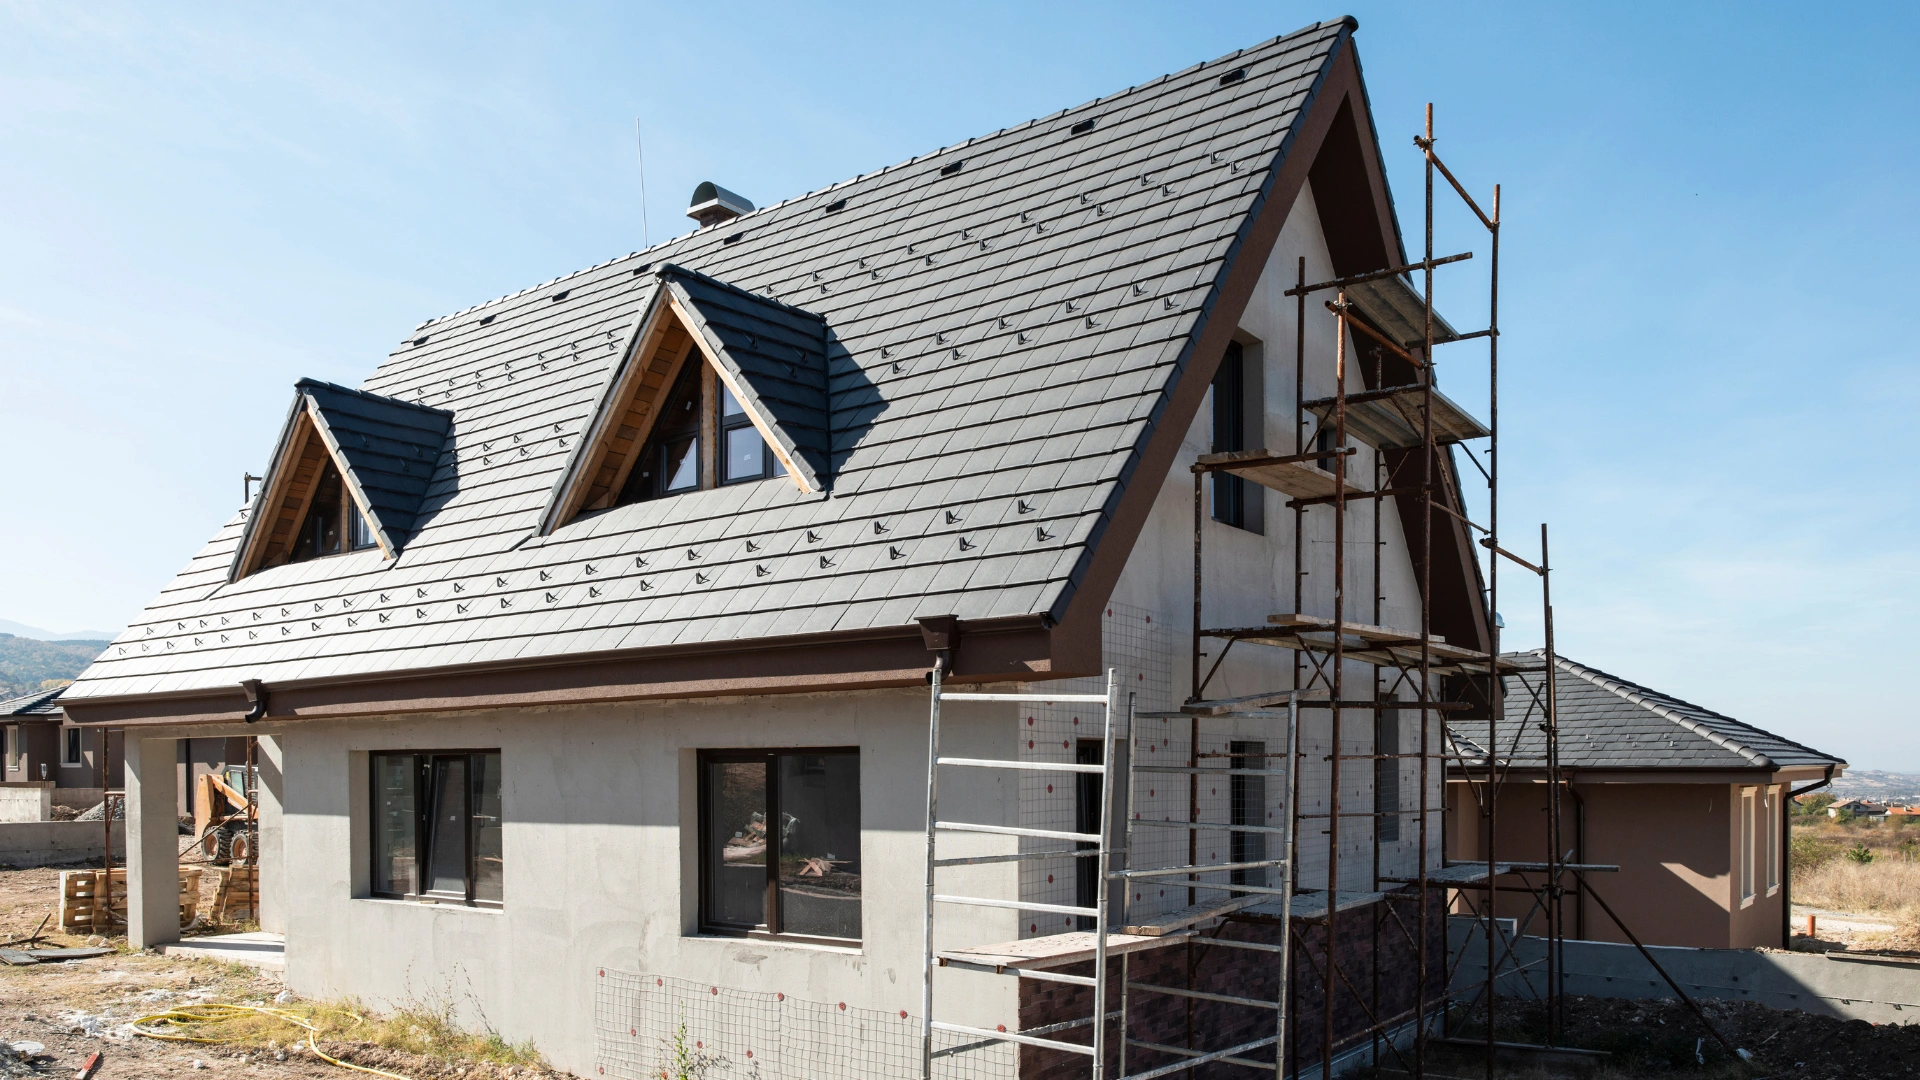
1Structural works and demolition Always first
Wall removals, RSJ steelwork, foundations, groundworks, and drainage. Structural engineer must sign off before any other trades follow.
-
2First fix plumbing, electrical, and heating Before walls are closed
All pipework, wiring, and heating pipework run before any plasterboard goes up. This is the last chance to access cavities without ripping walls open.
-
3Insulation and airtightness membrane Before plastering
All insulation fitted and airtightness membrane installed with joints taped. Must be inspected before plastering begins. Skipping or rushing this step costs significantly in energy performance.
-
4Plastering and drylining After first fix sign-off
Walls and ceilings closed and skimmed. First fix must be inspected and signed off by certifier before plasterboard goes up. Allow 2 to 4 weeks drying time before flooring.
-
5Second fix plumbing and electrical After plastering
Radiators, sockets, switches, light fittings, and sanitary ware connections. All surface-mounted fittings that could not go in during first fix.
-
6Tiling and flooring Wet rooms before dry rooms
Bathroom and kitchen tiling first, then dry room flooring. Tanking in wet areas must be cured before tiles go on. Engineered timber must acclimatise for 48 hours before fitting.
-
7Kitchen and bathroom fit-out Near end of project
Units, worktops, sanitary ware, appliances, shower enclosures. Worktops templated after units are fitted. Sanitary ware fitted after tiling is complete.
-
8Painting, decorating, and finishing Last trade on site
Ceiling first, walls second, woodwork last. Silicon joints in wet rooms applied after grouting is fully cured. Snagging walk-through with contractor before final payment is released.
Critical rule: First fix plumbing, electrical, and heating must be inspected and signed off by your certifier before walls are closed. Once plasterboard goes up, pipework and wiring are inaccessible without opening everything back up.
The Pre-Renovation Checklist
The preparation phase is where most Irish renovations are won or lost. Every competing article skips it. Every experienced contractor will tell you it is the most important part of the process.
Complete every item on this list before any contractor arrives on site. These steps cannot be done retrospectively without significant cost.
Surveys and assessments
Planning and building control
SEAI grants
Budget and programme
Insurance and documentation
Get a Structural Survey
Before any room is touched, commission a structural survey from a chartered building surveyor or structural engineer. This costs €300 to €600 and is worth every cent. A structural survey identifies hidden issues that completely change the scope and cost of a project: failed lintels over windows, rising damp, cracked or sunken foundations, outdated wiring that is not safe to leave in place, and flat roofs that look fine from the garden but are saturated underneath. In pre-1980 Dublin properties, particularly Victorian and Edwardian terraces in areas like Rathmines, Ranelagh, and Drumcondra, unexpected structural issues are the norm rather than the exception. Finding them before your contractor starts is always cheaper than finding them once walls are open and trades are on a day rate.
Check Your Planning Permission Requirements
Not every renovation requires planning permission, but you need to confirm your position before work starts, not after. Single-storey rear extensions up to 40m² on a house where no previous extensions have been built generally qualify as exempted development. Internal works, attic conversions without dormer structures, and most bathroom and kitchen renovations do not require planning. However, any work that changes the external appearance of the property, any works on a protected structure, and any extension that exceeds the exempted development thresholds requires full planning permission from your local authority. Dublin City Council, South Dublin County Council, Dún Laoghaire-Rathdown County Council, and Fingal all have slightly different requirements and response times. Confirm your position in writing with your architect before work starts.
Submit Your Commencement Notice
Even where planning permission is not required, most significant renovation works require a Commencement Notice to be submitted to your local Building Control Authority before work begins. This is a requirement under the Building Control Amendment Regulations (BCAR) and applies to extensions, attic conversions, and any works where a Certifier is appointed. Your architect or builder should handle this submission as a matter of course. The Certificate of Compliance issued at the end of the project is a legal document required when you sell the property. Solicitors and surveyors acting for buyers routinely request it, and its absence can delay or collapse a sale.
Identify Your SEAI Grants Before Work Starts
This is the step most Irish homeowners miss, and it is an expensive mistake. SEAI grants must be identified and applied for before works begin, not afterwards. If you carry out attic insulation, external wall insulation, or window replacement without first registering with SEAI, you cannot claim the grant retrospectively. The Better Energy Homes scheme covers attic insulation (up to €1,500), wall insulation (up to €8,000 for external wall insulation), heat pump installation (up to €6,500), and window and door upgrades (up to €1,500). Before your contractor starts any of these works, visit seai.ie and check your eligibility. If you are doing a significant retrofit alongside your renovation, consider the One Stop Shop pathway, which coordinates all the energy upgrade measures and grants in a single managed process.
Agree the Order of Works With Your Contractor
Sit down with your main contractor before anything starts and agree the sequence of works in writing. The correct order for an Irish home renovation is: structural works and demolition first, then first fix plumbing, electrical, and heating before any walls are closed, then insulation and airtightness membrane, then plastering, then second fix trades, then tiling and flooring (wet rooms before dry rooms), then kitchen and bathroom fit-out, and finally painting, decorating, and finishing. Any contractor who proposes a different sequence without a clear reason for the deviation is worth questioning before you commit.
Set Your Budget and Contingency
A light refresh in Ireland costs €800 to €1,200 per m². A mid-range renovation runs €1,500 to €2,500 per m². A full renovation involving structural changes, rewiring, and replumbing sits at €2,500 to €3,500 per m². High-end or period property works can reach €5,000 per m² and above. On top of the build cost, budget 15% contingency as a minimum. For properties built before 1970, 20% is more realistic. The contingency is not for extras or upgrades, it is for the genuine surprises that only reveal themselves when floors and walls are opened. Set it aside before the project starts and treat it as a fixed line in the budget, not a theoretical reserve. For a full breakdown by room and project type, see our home renovation costs guide.
Kitchen Renovation Checklist
The kitchen is the most complex and typically the most expensive room in any renovation. It involves the most trades, the most coordination, and the longest lead times for materials. Getting the sequence right here matters more than anywhere else.
Tick each item as you complete it. All steps should be confirmed before your contractor starts on site.
Planning and layout
First fix
Supply and sequencing
Sign-off
Planning and Layout
The position of the sink, cooker, and fridge determines where the plumbing, electrical circuits, and extraction ducting need to run. Change your mind about the layout after first fix and you are paying twice. Agree the final layout with your contractor, your kitchen supplier, and your architect (if involved) before any first fix work begins. If you are removing a wall to open up the kitchen, the structural engineer needs to be involved before any demolition takes place.
Structural and First Fix
Wall removal requires structural steelwork. Each RSJ beam costs €800 to €2,500 depending on span, and most open-plan kitchen projects require two to four. Extraction fan ducting must be routed to the outside of the building, not into the ceiling void or attic space, this is a building regulation requirement and a common shortcut taken by less careful contractors. Plumbing routes for the sink, dishwasher, and any relocated washing machine must be agreed and run before plastering. Electrical circuits for the kitchen should be on a dedicated ring main, with sockets positioned to the agreed kitchen plan.
Supply, Fit, and Sequencing
Kitchen units typically have lead times of 6 to 10 weeks from order to delivery. Order early. Units are fitted before worktops are templated: templating happens after the units are in because the dimensions of the actual fitted units are what the worktop is cut to, not the dimensions on a drawing. Splashback tiling is fitted before second fix sockets are installed, so the electrician can set the socket boxes at the correct final depth. Appliances are installed and commissioned last, after all other trades are complete.
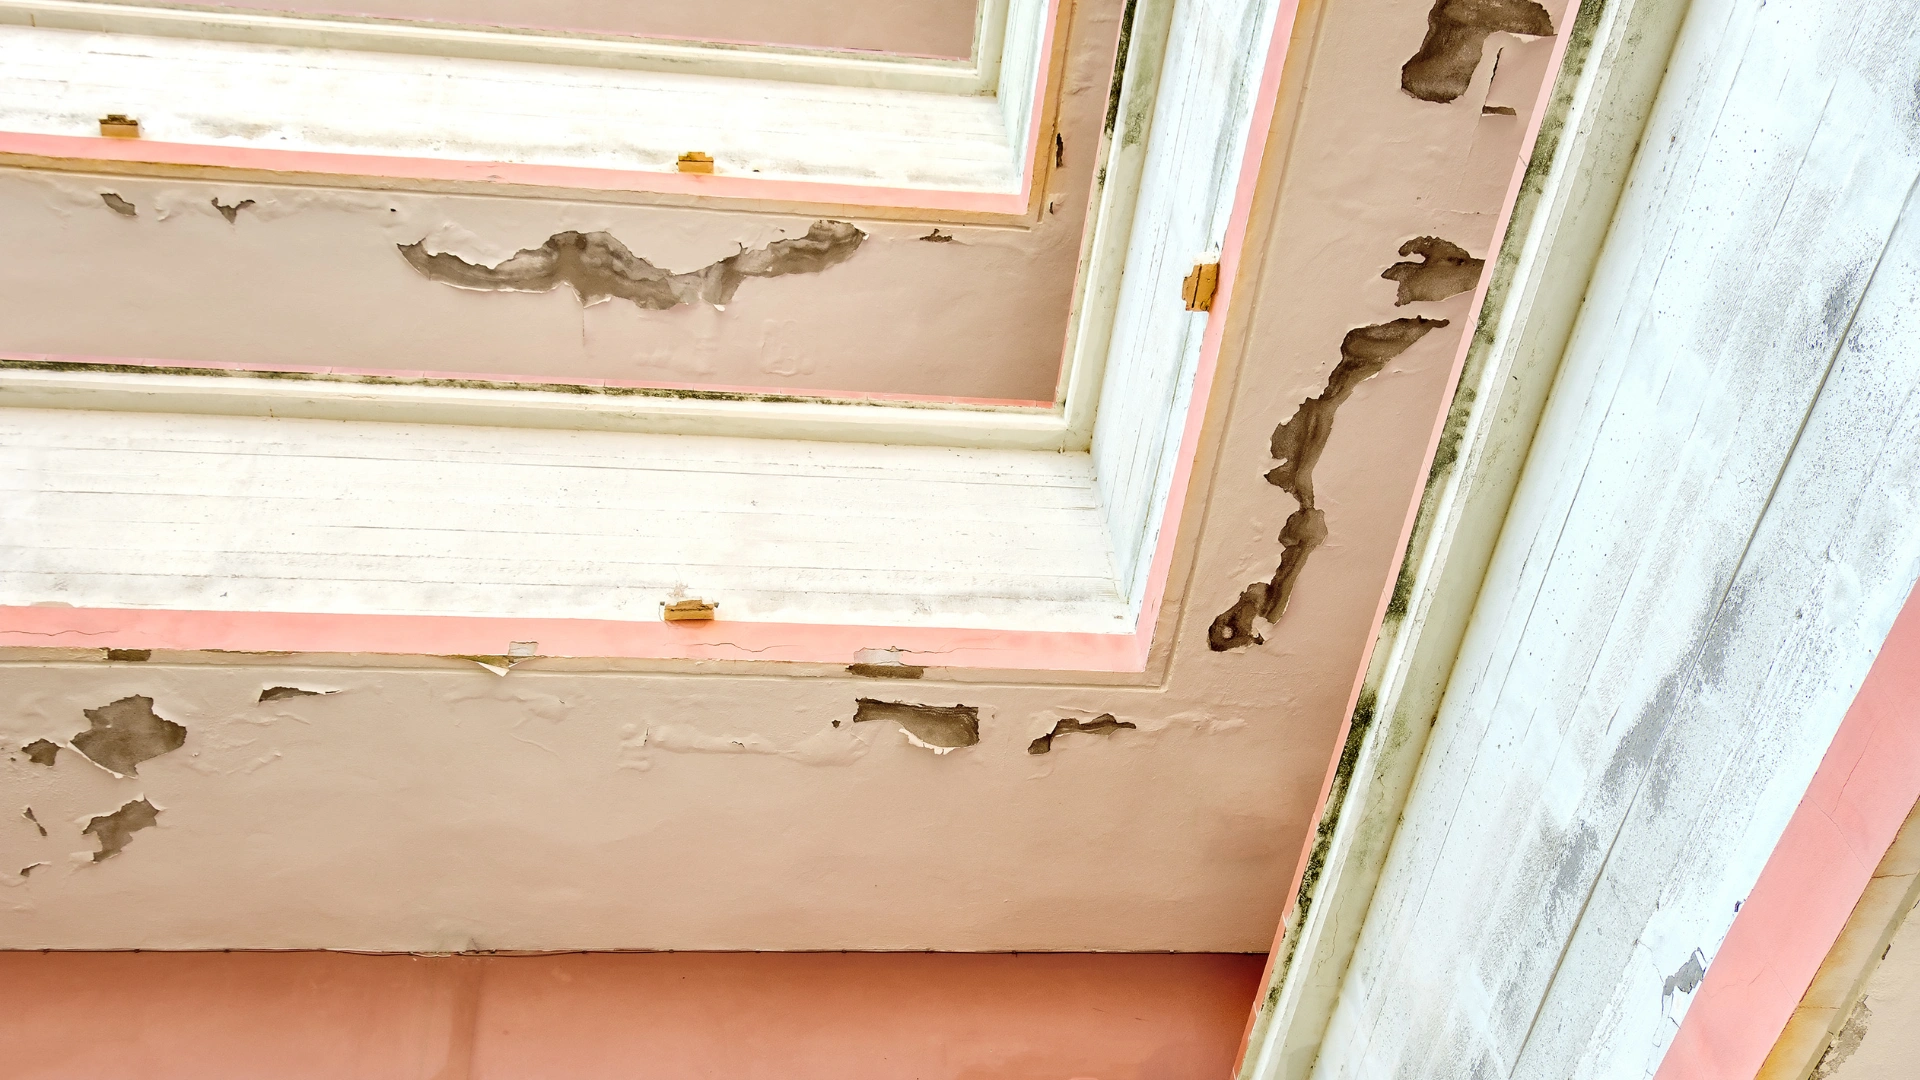
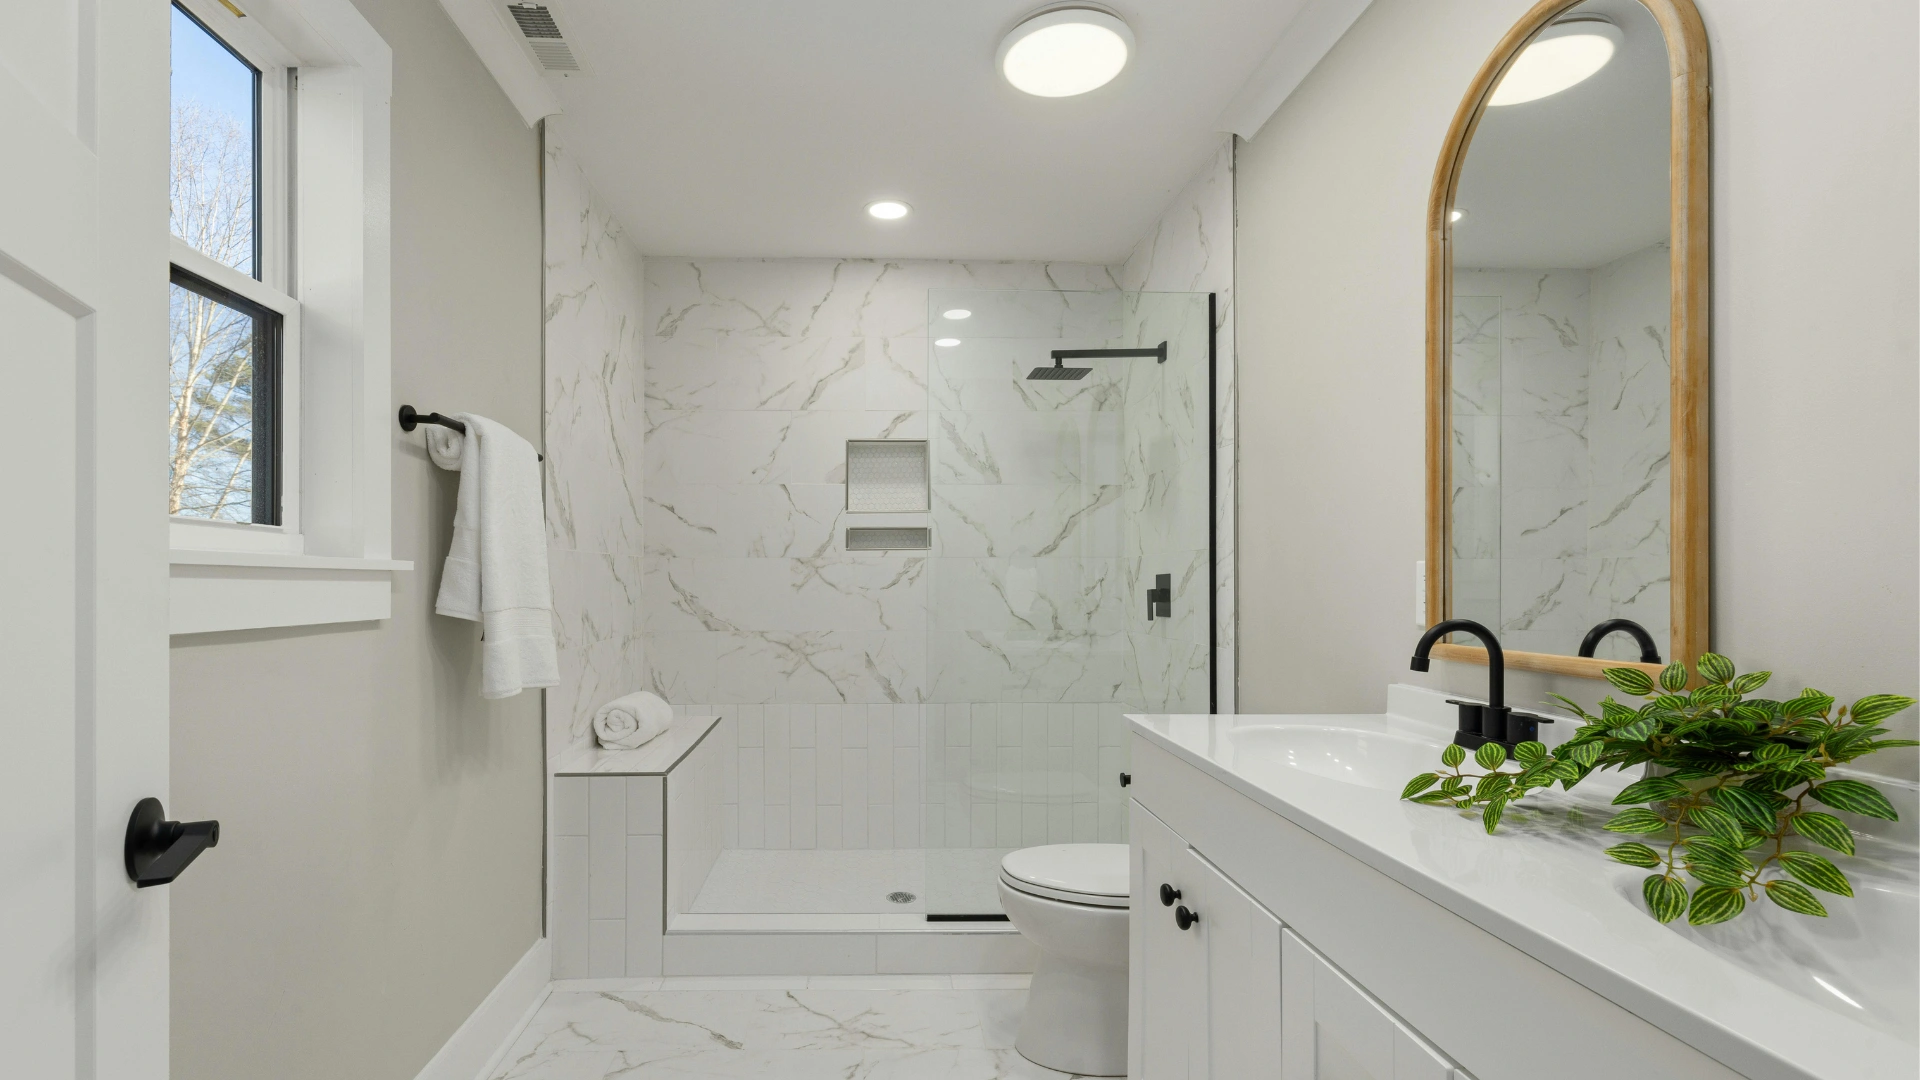
Bathroom and En Suite Renovation Checklist
A bathroom renovation done in the wrong sequence creates problems that are invisible until they cause serious damage. Waterproofing failures behind tiles are the most common, and most preventable, cause of damp in Irish bathrooms.
Tick each item as you complete it. All steps should be confirmed before your contractor starts on site.
Before work starts
Waterproofing
First fix
Tiling and fit-out
Sign-off
Waterproofing and Tanking
Tanking must be applied to all wet areas, the shower enclosure, the area around the bath, and the floor, before any tiles go on. Tanking is a waterproof membrane system applied to the substrate. It must cure fully before tiling begins, typically overnight minimum, longer in cold conditions. This step is skipped more often than it should be on Irish renovation projects, particularly on budget jobs where the tiler is also supplying the waterproofing. Insist on seeing the tanking installed before tiling begins. Once the tiles are on, there is no way to inspect what is underneath.
First Fix Plumbing and Electrical
The position of the soil stack determines what layout is realistically achievable in a bathroom. Relocating a soil stack is expensive and complicated. Work with the layout the soil stack allows rather than moving it unless there is a compelling reason. Electrical requirements for a bathroom under Irish wiring regulations (ETCI) include RCD protection on all circuits, no exposed sockets within the room, and a shaver socket only where specified in the standard. An extractor fan is required under Irish building regulations in a bathroom without a window, and must be ducted to the outside of the building.
Tiling, Sanitary Ware, and Fit-Out
Wall tiles before floor tiles, or floor before wall, is a genuine debate among tilers. The Irish norm is wall tiles first, then floor tiles, because it is easier to cut the floor tile to meet the wall tile than the other way around. Sanitary ware (toilet, basin, bath, shower tray) is fitted after tiling is complete, not before. Silicon joints are the last thing applied, after grouting is fully cured. A silicon joint applied over uncured grout will fail within months.
Living Room and Dining Room Renovation Checklist
Living rooms and dining rooms are typically lower in complexity than kitchens and bathrooms, but they contain a few items that are regularly mishandled.
Structural Considerations
Chimney breast removal is one of the most commonly requested works in Dublin living rooms, particularly in Victorian and Edwardian terraces where the breast takes up significant floor space. It requires a structural engineer's assessment, a steel support beam in most cases, and a Commencement Notice. It cannot be done without these, regardless of what any contractor tells you. Stove installation requires a register plate, a flue liner, and compliance with Part J of the Irish Building Regulations covering combustion appliances. The installer must be registered with a competent person scheme.
Electrical and Lighting
Plan socket positions before first fix. Irish building regulations (Part P) require a minimum number of sockets per room, but for a modern living room, more is always better. TV and data points should be chased into the wall during first fix, not surface-mounted on trunking afterwards. If you are fitting underfloor heating, the heating mat or pipework is installed before the floor screed or flooring goes down, and the system must be commissioned and pressure tested before the floor goes over it.
Flooring Sequence
Engineered timber needs to acclimatise in the room for a minimum of 48 hours before fitting. It should not be laid until all wet trades are finished and the room has dried out fully. In a room that has been freshly plastered, this typically means waiting three to four weeks after plastering for moisture levels to reach an acceptable level for timber. Laying timber too early causes cupping, gapping, and squeaking, all of which are expensive to put right.
Living room and dining room checklist:
- Chimney breast removal: structural engineer assessment and Commencement Notice in place before demolition
- Stove installation: register plate, liner, and Part J compliance confirmed
- Cornice, architrave, and skirting profile decided before plastering
- Sockets, lighting, TV, and data points planned before first fix
- Underfloor heating layout agreed, installed, and pressure tested before floor goes down
- Plaster fully dried before timber flooring is fitted (minimum three to four weeks)
- Engineered timber acclimatised in room for 48 hours before fitting
Bedroom Renovation Checklist
Bedrooms are typically the straightforward rooms in an Irish renovation, but they contain two items that are regularly underestimated: cold external walls and window replacement.
Insulation and Windows
Cold bedrooms in older Irish houses are almost always a window problem, a wall insulation problem, or both. Single-glazed sash windows, which are still common in Victorian and Edwardian properties across south Dublin, account for significant heat loss. Replacing them is worth doing during a renovation when other trades are already on site. Window lead times in Ireland run 6 to 8 weeks typically, so order early. External wall insulation or internal dry lining (where external is not possible, for example in a protected structure) should be decided and specified before plastering begins, not as an afterthought.
Built-In Storage and Finishing
Built-in wardrobes can be fitted either before or after flooring depending on the design. If the wardrobe will have a plinth that sits on the floor, the flooring goes in first. If the wardrobe runs to the floor with no plinth, it is fitted before the flooring and the floor is cut to meet it. Agree this sequence with your joiner and flooring contractor before either starts. Painting follows the standard sequence: ceiling first, walls second, woodwork last.
Bedroom checklist:
- Window condition assessed, replacements ordered with 6 to 8 week lead time factored in
- External wall insulation or dry lining decided before plastering begins
- Electrical: sockets, lighting positions, USB outlets planned before first fix
- Built-in wardrobe positions agreed before skirting is fitted
- Wardrobe and flooring sequence agreed before either trade starts
- Painting sequence followed: ceiling first, walls second, woodwork last
- Floor fitted after all other trades are complete.
What to Do After Your Renovation Is Complete
The Snagging Checklist
Snagging is the process of identifying and recording any defects or unfinished items before you release the final payment to your contractor. It should be carried out as a formal walk-through with your contractor present, and every item should be written down, agreed, and given a completion date. Releasing the final payment before snagging is complete removes your only practical leverage.
Get Your Compliance Certificates
Before you pay the final invoice, confirm that you have received all compliance documentation. This includes the Certificate of Compliance with building regulations from your certifier, a BER certificate if applicable (required for any new extension or significant energy upgrade), an Electrical Completion Certificate from your RECI-registered electrician, and a Gas Safety Certificate from your RGI-registered installer if any gas works were carried out. These documents are not optional extras: they are required when you sell the property, and obtaining them retrospectively is difficult and sometimes impossible.
Update Your Home Insurance
Notify your insurer when the renovation is complete and provide an updated rebuild value for the property. An extension, attic conversion, or significant renovation increases the rebuild cost of the house, and being underinsured at claim time is a problem that is entirely avoidable. Most insurers also need to be notified before works begin, check your policy before your contractor arrives on site.
Keep Your Documentation
Create a dedicated folder, physical or digital, for all renovation documentation: planning permission, Commencement Notice, compliance certificates, manufacturer warranties, appliance manuals, paint colour references, and any as-built drawings. This folder has real value when you sell the property, and it saves time and money when something needs to be repaired or replaced years later.